Impala – Describe Statement
The describe statement in Impala is used to give the description of the table. The result of this statement contains the information about a table such as the column names and their data types.
Syntax
Following is the syntax of the Impala describe statement.
Describe table_name;
Example
For example, assume we have a table named customer in Impala, with the following data −
ID NAME AGE ADDRESS SALARY
ID NAME AGE ADDRESS SALARY |
You can get the description of the customer table using the describe statement as shown below −
[quickstart.cloudera:21000] > describe customer;
On executing the above query, Impala fetches the metadata of the specified table and displays it as shown below.
Query: describe customer
+---------+--------+---------+ |
Fetched 5 row(s) in 0.51s
Describing the Records using Hue
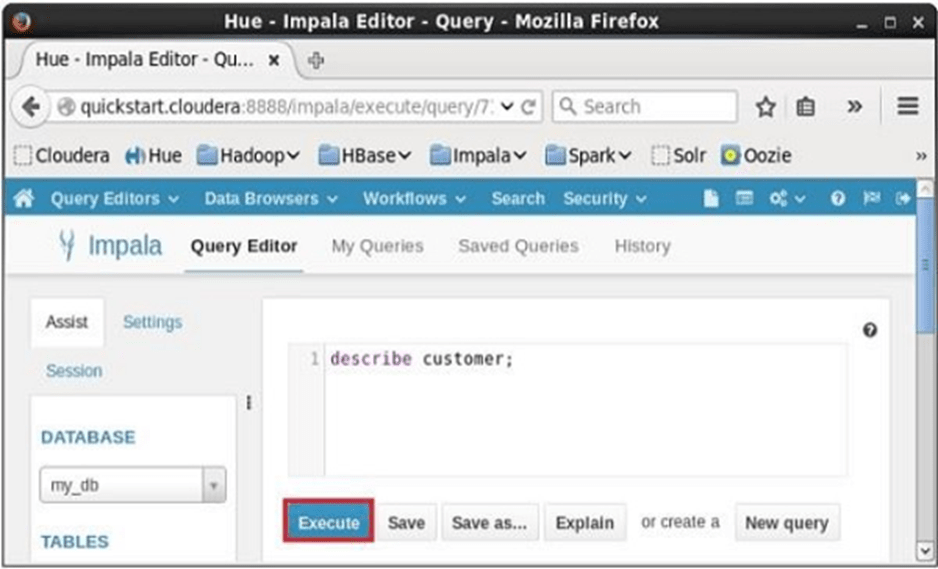
Open Impala Query editor and type the describe statement in it and click on the execute button as shown in the following screenshot.
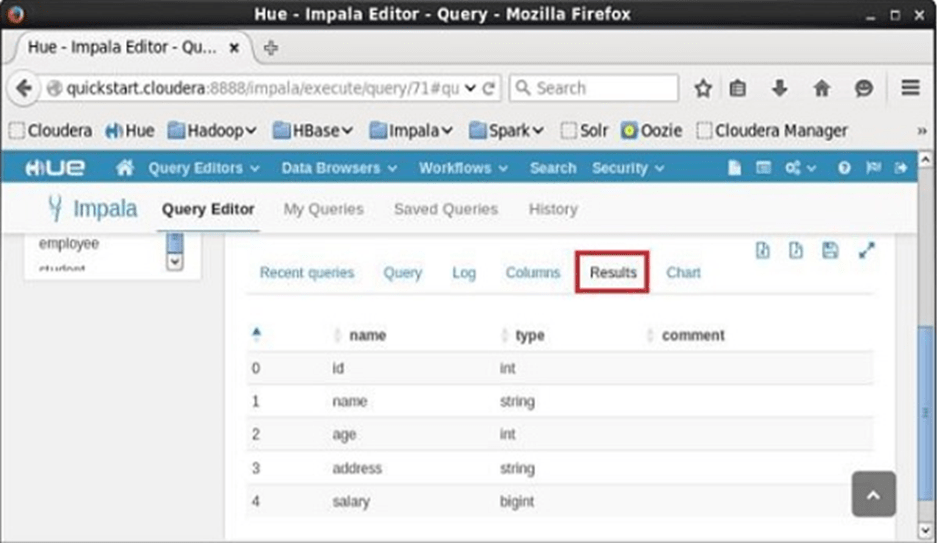
After executing the query, if you scroll down and select the Results tab, you can see the metadata of the table as shown below.
Impala – Alter Table
The Alter table statement in Impala is used to perform changes on a given table. Using this statement, we can add, delete, or modify columns in an existing table and we can also rename it.
This Chapter explains various types of alter statements with syntax and examples. First of all assume that we have a table named customers in the my_db database in Impala, with the following data.
ID NAME AGE ADDRESS SALARY |
And, if you get the list of tables in the database my_db, you can find the customers table in it as shown below.
[quickstart.cloudera:21000] > show tables;
Query: show tables |
+-----------+ |
Altering the name of a table
Syntax
The basic syntax of ALTER TABLE to rename an existing table is as follows −
ALTER TABLE [old_db_name.]old_table_name RENAME TO [new_db_name.]new_table_name
Example
Following is an example of changing the name of the table using the alter statement. Here we are changing the name of the table customers to users.
[quickstart.cloudera:21000] > ALTER TABLE my_db.customers RENAME TO my_db.users;
After executing the above query, Impala changes the name of the table as required, displaying the following message.
Query: alter TABLE my_db.customers RENAME TO my_db.users
You can verify the list of tables in the current database using the show tables statement. You can find the table named users instead of customers.
Query: show tables
+----------+ |
Fetched 4 row(s) in 0.10s
Adding columns to a table
Syntax
The basic syntax of ALTER TABLE to add columns to an existing table is as follows −
ALTER TABLE name ADD COLUMNS (col_spec[, col_spec ...])
Example
The following query is an example demonstrating how to add columns to an existing table. Here we are adding two columns account_no and phone_number (both are of bigint data type) to the users table.
[quickstart.cloudera:21000] > ALTER TABLE users ADD COLUMNS (account_no BIGINT, phone_no BIGINT);
On executing the above query, it will add the specified columns to the table named student, displaying the following message.
Query: alter TABLE users ADD COLUMNS (account_no BIGINT, phone_no BIGINT)
If you verify the schema of the table users, you can find the newly added columns in it as shown below.
quickstart.cloudera:21000] > describe users;
Query: describe users |
Dropping columns from a table
Syntax
The basic syntax of ALTER TABLE to DROP COLUMN in an existing table is as follows −
ALTER TABLE name DROP [COLUMN] column_name
Example
The following query is an example of deleting columns from an existing table. Here we are deleting the column named account_no.
[quickstart.cloudera:21000] > ALTER TABLE users DROP account_no;
On executing the above query, Impala deletes the column named account_no displaying the following message.
Query: alter TABLE users DROP account_no
If you verify the schema of the table users, you cannot find the column named account_no since it was deleted.
[quickstart.cloudera:21000] > describe users;
Query: describe users |
Changing the name and type of a column
Syntax
The basic syntax of ALTER TABLE to change the name and datatype of a column in an existing table is as follows −
ALTER TABLE name CHANGE column_name new_name new_type
Example
Following is an example of changing the name and datatype of a column using the alter statement. Here we are changing the name of the column phone_no to email and its data type to string.
[quickstart.cloudera:21000] > ALTER TABLE users CHANGE phone_no e_mail string;
On executing the above query, Impala does the specified changes, displaying the following message.
Query: alter TABLE users CHANGE phone_no e_mail string
You can verify the metadata of the table users using the describe statement. You can observe that Impala has done the required changes to the specified column.
[quickstart.cloudera:21000] > describe users; |
Altering a Table using Hue
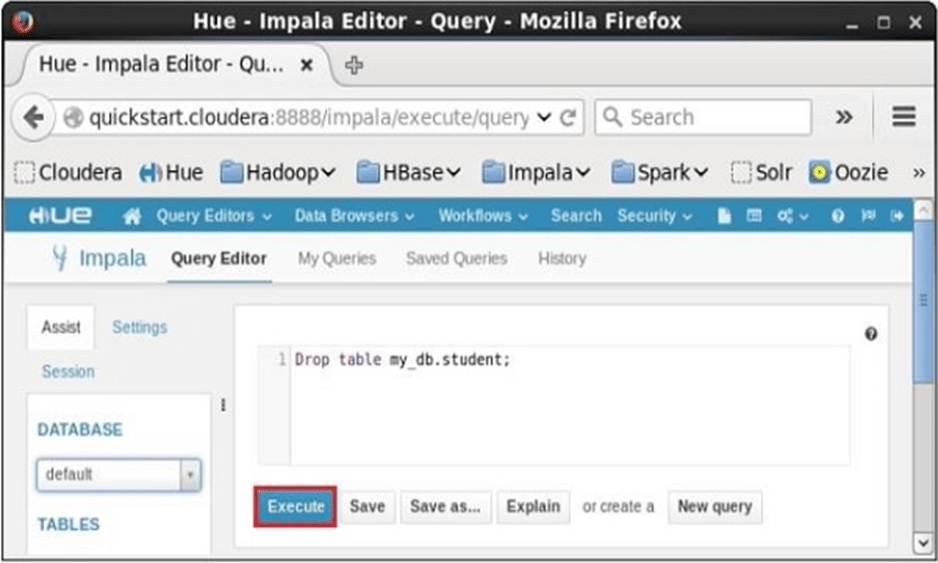
Open the Impala Query editor and type the alter statement in it and click on the execute button as shown in the following screenshot.

On executing the above query, it will change the name of the table customers to users. In the same way, we can execute all the alter queries.
Impala – Drop a Table
The Impala drop table statement is used to delete an existing table in Impala. This statement also deletes the underlying HDFS files for internal tables
NOTE − You have to be careful while using this command because once a table is deleted, then all the information available in the table would also be lost forever.
Syntax
Following is the syntax of the DROP TABLE Statement. Here, IF EXISTS is an optional clause. If we use this clause, a table with the given name is deleted, only if it exists. Otherwise, no operation will be carried out.
DROP table database_name.table_name;
If you try to delete a table that doesn’t exist without the IF EXISTS clause, an error will be generated. Optionally you can specify database_name along with table_name.
Example
Let us first verify the list of tables in the database my_db as shown below.
[quickstart.cloudera:21000] > show tables;
Query: show tables |
From the above result, you can observe that the database my_db contains 3 tables
Following is an example of the drop table statement. In this example, we are deleting the table named student from the database my_db.
[quickstart.cloudera:21000] > drop table if exists my_db.student;
On executing the above query, a table with the specified name will be deleted, displaying the following output.
Query: drop table if exists student
Verification
The show Tables query gives a list of the tables in the current database in Impala. Therefore, you can verify whether a table is deleted, using the Show Tables statement.
First of all, you need to switch the context to the database in which the required table exists, as shown below.
[quickstart.cloudera:21000] > use my_db; Query: use my_db
Then, if you get the list of tables using the show tables query, you can observe the table named student is not in the list.
[quickstart.cloudera:21000] > show tables; |
Creating a Database using Hue Browser
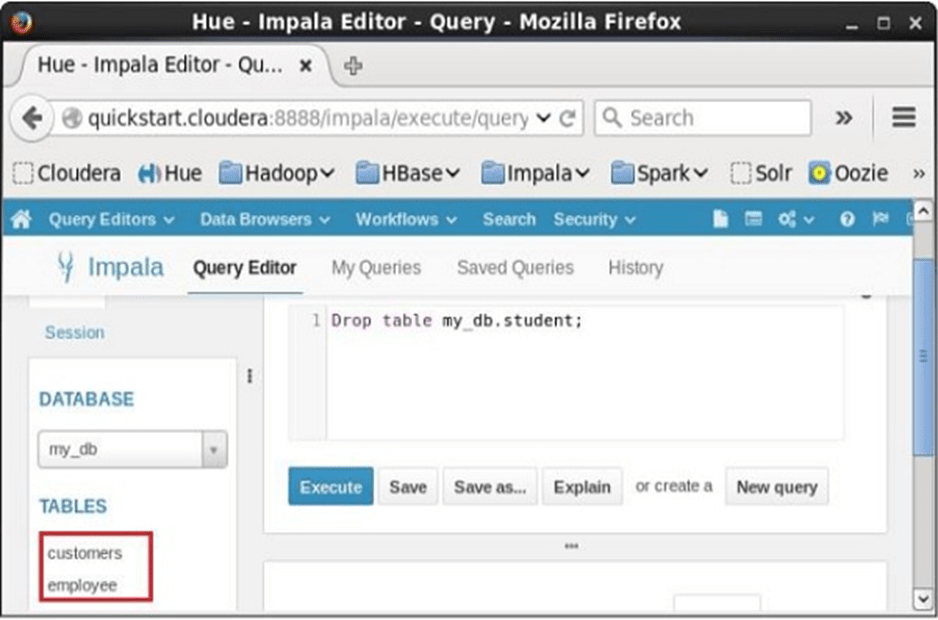
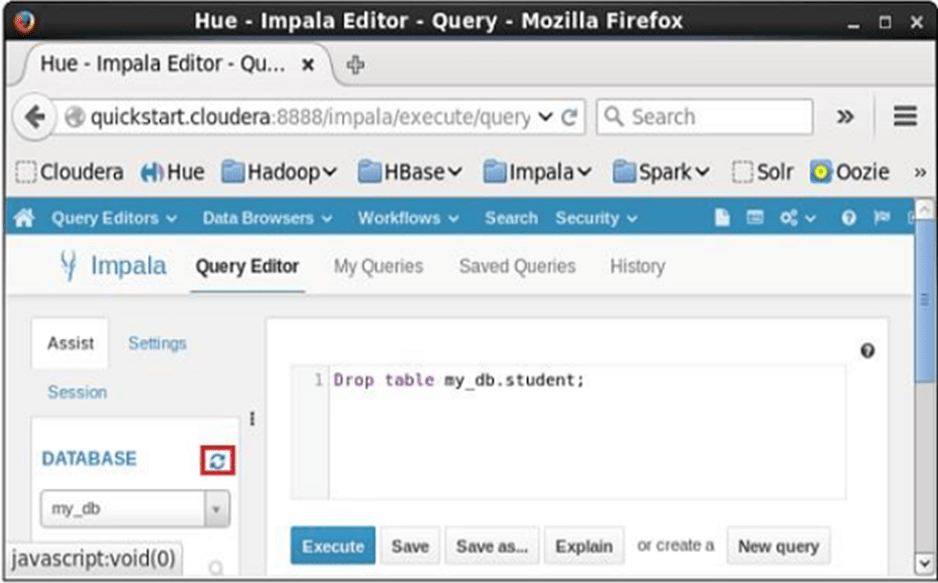
Open Impala Query editor and type the drop Table Statement in it. And click on the execute button as shown in the following screenshot.
After executing the query, gently move the cursor to the top of the dropdown menu and you will find a refresh symbol. If you click on the refresh symbol, the list of databases will be refreshed and the recent changes done are applied to it.
Verification
Click on the drop down under the heading DATABASE on the left-hand side of the editor. There you can see a list of databases; select the database my_db as shown below.
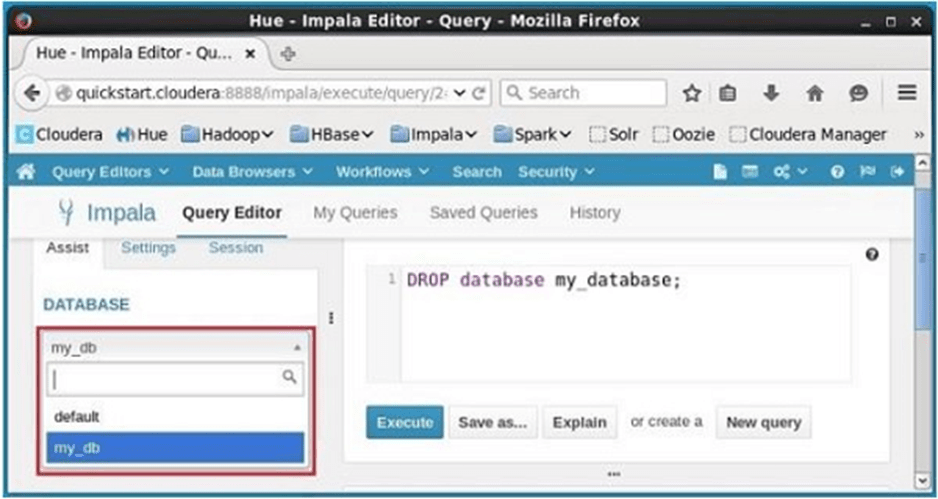
On selecting the database my_db, you can see a list of tables in it as shown below. Here you cannot find the deleted table student in the list as shown below.